

Agency
How to plan an agency client workspace
One MAILTIG tenant per client, Agency-plan gating, role templates, snapshots and whitelabel. What stays separate, and what the agency can see.
By MAILTIG editorial. Reviewed by Product / security (Security and product) on 4 November 2026. Next review due 4 February 2027. 7 minute read.
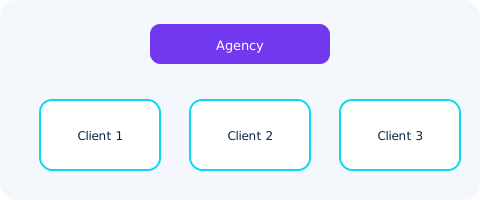
Treat each client as a tenant. That is how MAILTIG is built: contacts, mailboxes, campaigns, inbox and credits do not leak across workspaces. An automated probe on 4 November 2026 denied every cross-tenant read, change and delete.
What you need on the Agency plan
- Client workspaces
- Role templates you can apply to a client
- A portfolio view of those clients
- Monthly report snapshots (the day of the month is a module setting)
- Whitelabel: name, logo, colour, support email, custom host
Business and Free do not turn these features on.
A practical setup order
- Create the agency workspace, connect your mailboxes later or not at all.
- Create a client workspace with its own admin. They pick the password on the secure sign-in page.
- Apply a role template so client users cannot see other clients (they cannot anyway: they are in another tenant, but roles still scope what they can do inside their own).
- Client connects their mailboxes and domains. Do not share a sending identity across clients.
- Take a snapshot once there is something to report.
Custom SSO and dedicated data residency are not offered on this page because MAILTIG does not currently deliver them.